Open MyDrawing.java and run as applet without making any changes to the code just yet!
View the MyDrawing applet using appletviewer. All you will see is a blank white canvas and two IntFields for entering x and y coordinates. These coordinates specify the position of your drawing on the canvas.
The following items must be implemented to get credit for lab completion.
Initialize and add the two Buttons bDraw and bClear. The Buttons should be labeled "Draw" and "Clear", respectively, and perform the following actions:
Button bDraw: Your actionPerformed subroutine already contains code to get the user inputted x and y starting coordinates, which are set to (0,0) by default. Add code to pass the values of x and y to the subroutine Draw.
Button bClear: Add code to your actionPerformed to clear the canvas. You can easily do this by coloring over the entire canvas in white. Looking at the GDemo code may help you figure out how to do this.
The Draw subroutine is declared as follows:
public void Draw (int x, int y)
The subroutine takes as input two ints which represent the x and y coordinates of the drawing position on the canvas.
You may draw whatever you want, as long as it "makes sense". For example, you can draw something simple such as the flower in the example below or create a pattern of geometric shapes, but you shouldn't just put a jumble of random shapes on the canvas. You should use several different shapes (such as lines, ovals, rectangles, etc.) and colors. Make sure that when you design your drawing you use the generic x and y coordinates passed into the Draw subroutine. The Java Graphics API contains method specifications for drawing shapes. It may be easier to add shapes one at a time, compiling and testing your applet in-between, or to sketch your shapes and coordinates on paper first.
REMEMBER: The coordinate system for Java graphics starts at the upper left corner, and goes to the right and down!
Below is an example of a possible implementation of the MyDrawing applet. When the Draw button is clicked the picture is drawn at the default coordinates (0,0), the canvas appears as follows:
If the coordinates (100,100) are entered and the Draw button is clicked, a second copy of the picture is drawn:
Full credit will be awarded for exceeding the minimum requirements - for example, creating a particularly elaborate and/or intricate drawing, or implemeting one of the suggestions below.
NOTE: If you decide to do extra credit work, add a short description of what you did in the space indicated (by "Extra work:") in the MyDrawing.html file.
Add additional Buttons and subroutines to draw multiple pictures (not multiple shapes!).
Add an additional Button (and possibly a subroutine) to tile the canvas with multiple copies of your picture.
Add an additional Button (and possibly a subroutine) to flip and/or rotate your picture.
Add additional Buttons and subroutines to change the colors in your picture.
Add additional Buttons and subroutines to stretch/shrink/resize your picture.
Add additional IntFields to accept user input beyond the coordinates.
The example below shows what happens when you click the "Tile" Button:
You are encouraged to think up and implement your own ideas as well.
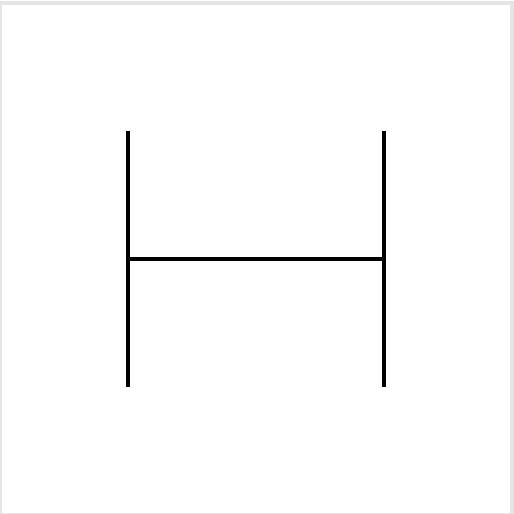
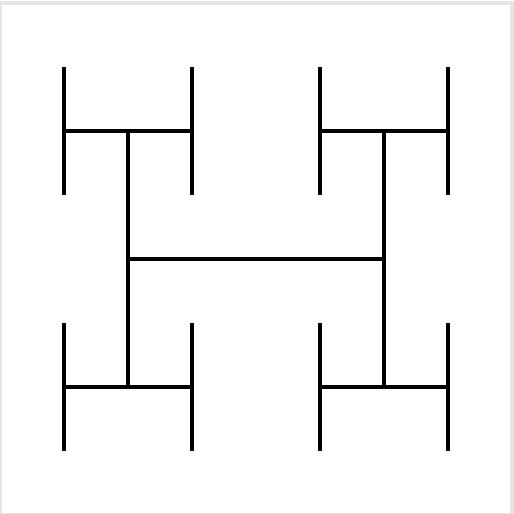
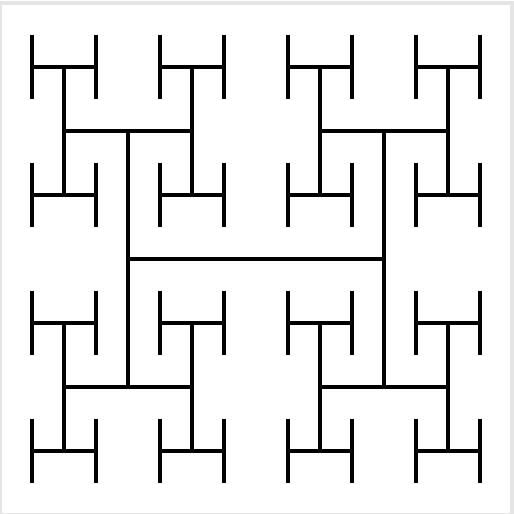
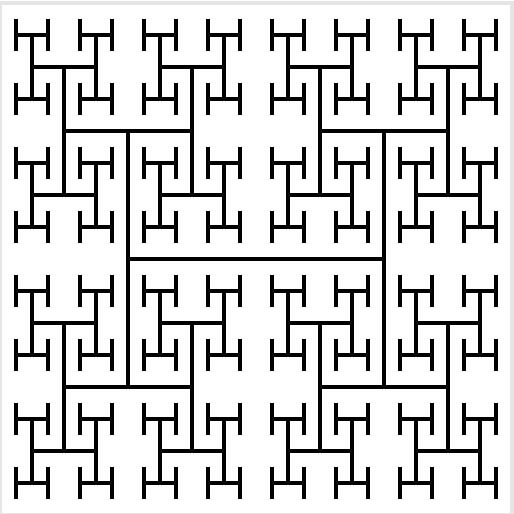
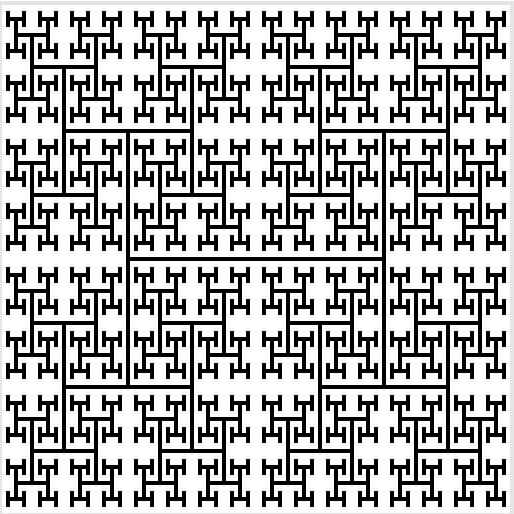
or H-Trees:
Did you put your name on your files?