Instructions for using a pre-provisioned virtual machine
In this class, students need to use virtual machines (vm) for classwork. This is because virtual machines set up an environment isolated from your own laptop, and all students can have the same initial environment. The virtual machine we use is Linux Ubuntu 16.04. If you get the virtual machine from Duke (by following part 1 in this instruction), softwares packages you need for this class (including Python, Postgres database, and some others) have already been installed on the virtual machine, and you don’t need to take time and effort to install them by yourself.
1. Getting a pre-provisioned Duke OIT VM
- Go to https://vcm.duke.edu/ and login with your Duke NetID.
- When you are logged in, click the button “Reserve a VM”.
- In the new window, you could see a drop-down menu to choose a type of vm that you want. In the drop-down menu, choose “COMPSCI 216 - Everything Data”, click the “Reserve” button, and then agree with the terms of use.

- You should see a new webpage showing the newly reserved vm. This is the website where you could manage your VMs (like power on, power off, export, delete, etc). Most likely you’ll see the “VM Status” of your VM is “complete” right away. If you see the status is “provisioning or reserving”, you’ll need to wait for around 20 minutes for the VM to get ready.
Once the status becomes “complete”, you are ready to use it.

- Now you’ve owned your own virtual machine for this class! For the next step we need to get access to it and do our work in it. There are several ways to do this, and your choice depends on your background and needs.
2. Using the VM
When you start to use the VM, make sure it has already been powered on in the VM management page (see the above screenshot).
Hostname
In the VM management page, you can see the hostname of your VM. Hostname is a human-readable nickname that correspond to the address of a device connected to a network (according to Wikipedia). You’ll need this hostname in later setups.
Username and Password
Whether you’ll use command line or graphic interface to run your VM, you’ll need an account and password to login to the VM. The VM that OIT provides comes with 2 user accounts. One is a normal user account same as your NetID, and its password is your NetID password. The other one is an admin user account called “vcm”, and to view its password, you need to click the “View password” button in the OIT VM management page (see the above screenshot). According to what we know from OIT, you’re encouraged to use the “vcm” account. There are some known issues with the NetID user account. And in the following instruction, we’ll use the “vcm” account.
Command Line Tools
If you are not familiar with using command line tools, or you’ve never heard of them, go to the next section on a graphical desktop interface. If you are familiar with command line tools:
- Open a terminal on your local machine, type “ssh vcm@[your vm hostname]” (contents in the quotation marks). For the vm in the previous screenshot, I would type “ssh vcm@vcm-2565.vm.duke.edu”.
- On the mac, you can use the `Terminal’ program
- On Windows, you will need to install a terminal (like MobaXterm).
- The ssh command may ask you the following question the first time you connect to your terminal: Are you sure you want to continue connecting (yes/no)? -- type ‘yes’ and press enter.
- The ssh command will ask for your password for the remote address. Here your password is what you get for your vcm account from the OIT VM management site.
- Imp Step: Install pip3 - We need to use pip3 to install jupyter on your VM to be able to run iPython Notebooks. Run this command on the shell 'sudo apt install python3-pip'.
- Install jupyter using command 'sudo pip3 install jupyter'. Then run jupyter --version to confirm a successfule installation.
- Now your VM is all setup, and you are able to use it from the shell without a graphical desktop interface.
- You will need to follow the next two steps (step 8 and 9) only if you plan to use the graphical user interface (see Section 3 below) from any OS.
- Run command 'sudo apt-get install xrdp=0.6.1-2' from the shell. This command downgrades the XRDP (remote desktop service) to be compatible with our client.
- Finally, run command 'sudo apt-mark hold xrdp' from the shell. This command prevents the auto-upgrade of the XRDP package.

3. Graphic Remote Desktop Interface
If you are not familiar with using command line tools, or you’ve never heard of them, or you prefer a graphic interface, follow these instructions:
Mac Users
- Go to: https://itunes.apple.com/us/app/microsoft-remote-desktop/id715768417?mt=12 to download “Microsoft Remote Desktop” to your laptop.
- After downloading Microsoft Remote Desktop, open it. Click the “New” button in it.

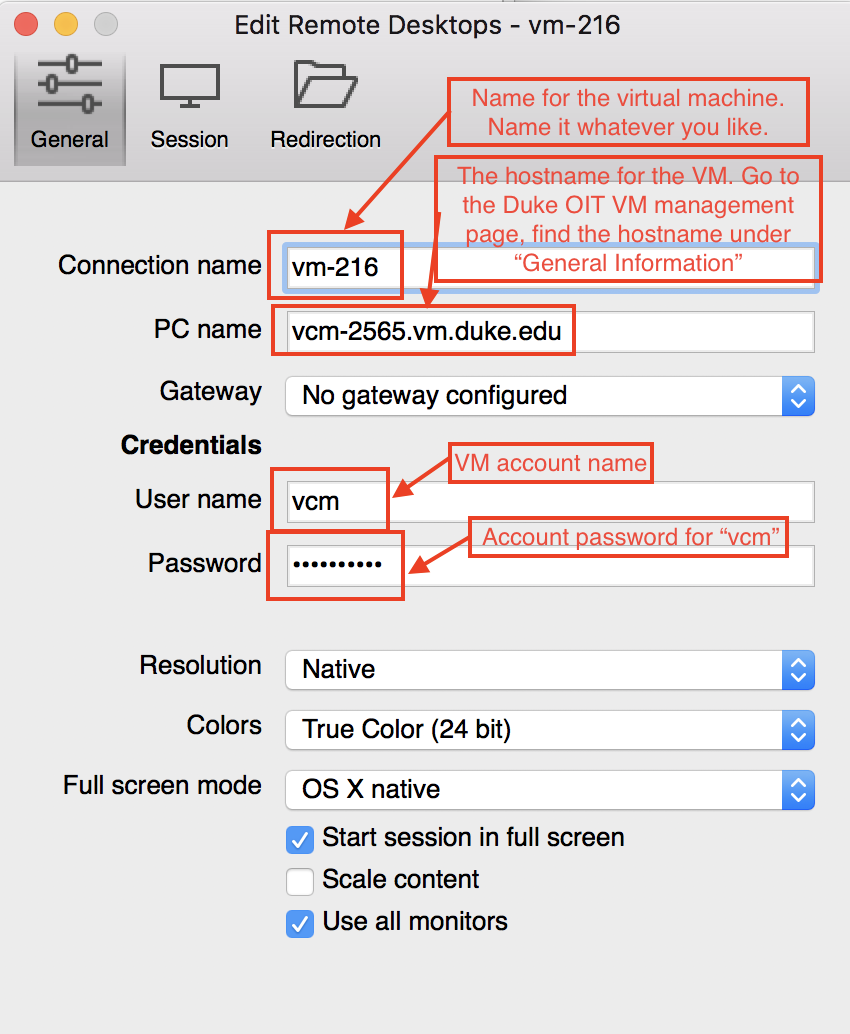
- In the pop-up window for setting up a new remote desktop, enter the corresponding information for your newly created VM. See the following screenshot for details:
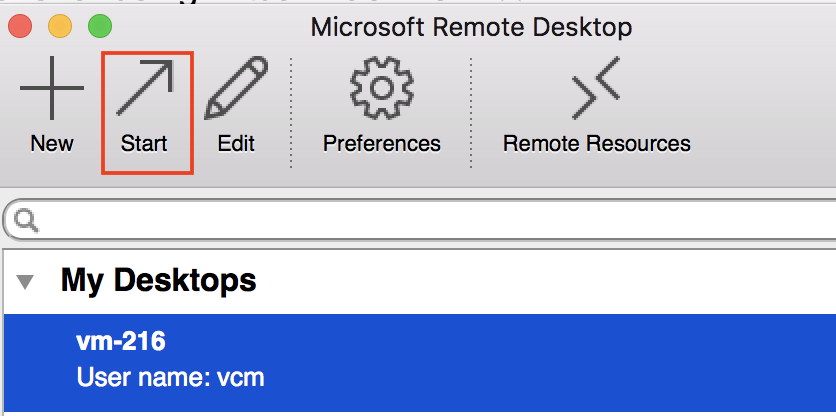
- After you enter all the required information for the vm, just close the window. Now you can see the vm is already in the list “My Desktops”.
- Click on the vm, and then click the “Start” button above to start running the vm.
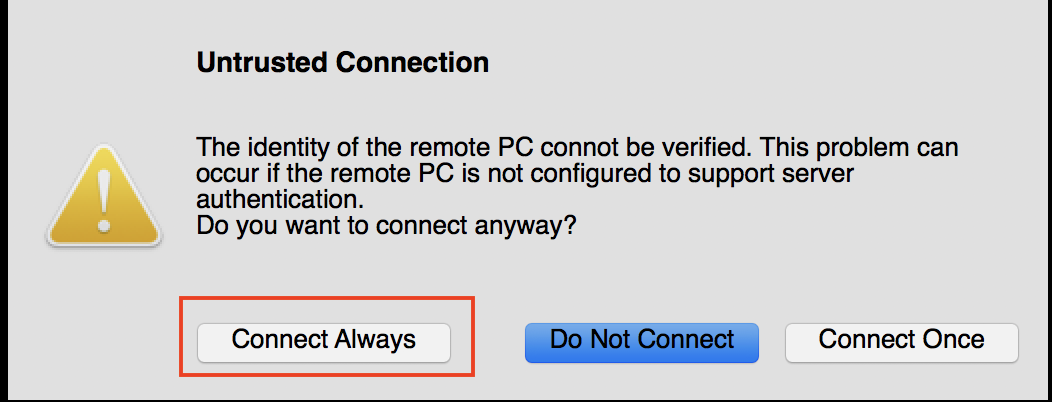
- For the first time that you connect to the vm, you will be asked if you want to connect to it due to verification reasons. Select “Connect Always” for this.
- After several seconds to boot the vm up, you’ll be able to see the graphical desktop interface of the virtual machine.

- The virtual machine is in Linux Ubuntu operating system, and the graphic interface is in LUbuntu. If you are not familiar with them, take some time to explore it with mouse clicks and keyboard typing.
Windows 10 Users
Note: in this section user account is still TA’s NetID, but you should use the “vcm” one.
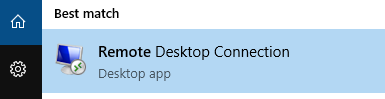
- Open “Remote Desktop Connection”. You may find it from the windows search bar (press the windows key or click the windows icon to highlight the search bar)

- Click on the “Show Options”
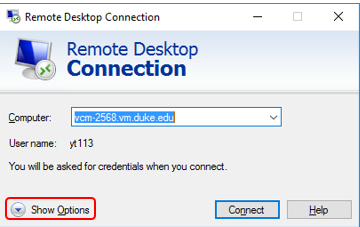
- Input your account information (your netid) and the VM address

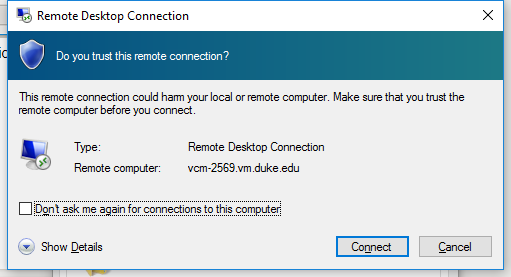
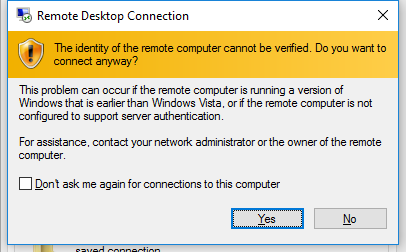
- Click “Connect”. You may see some warning pop-up windows. Just click “Connect” and “Yes”.
- Now you need to input your password (your netid password). Click on “OK” to move to the next step.
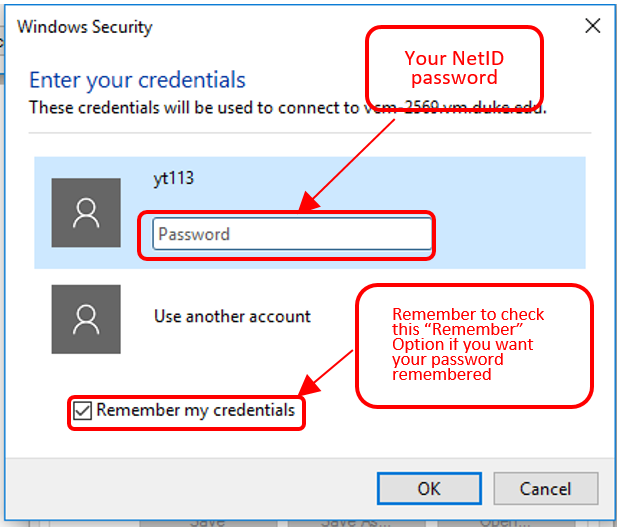
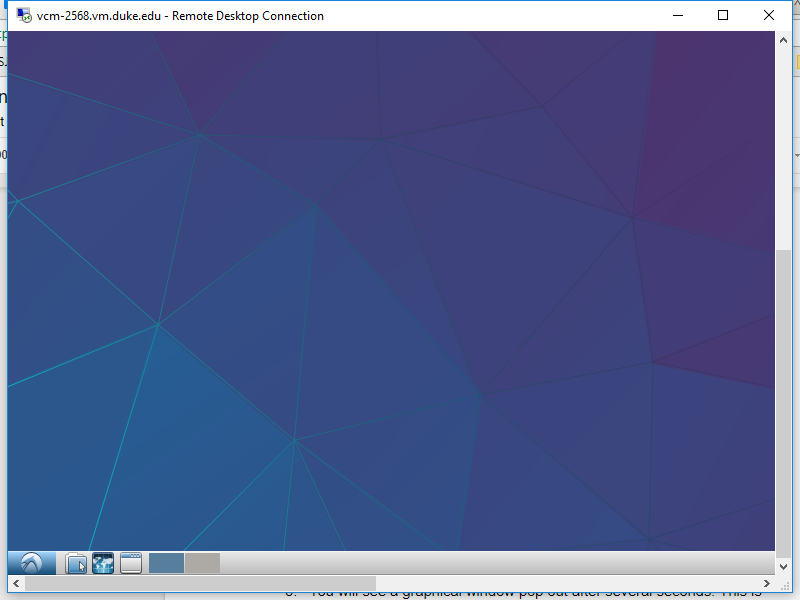
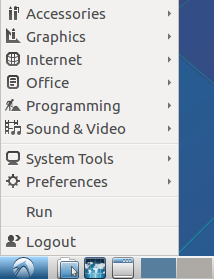
- After several seconds you should see a graphical window. If you didn’t check ‘Allow me to save credentials’ at step 3, you will need to input your password here. After you have successfully logged in, you will see a LUbuntu desktop. Try click on the menus at the bottom and have fun! If you cannot see this menu bar, try maximizing the window.
Linux (Ubuntu) Users
Note: in this section user account is still TA’s NetID, but you should use the “vcm” one.
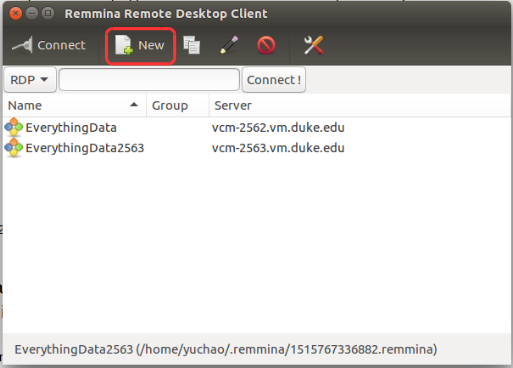
- Open the desktop application “Remmina Remote Desktop Client”. If you use other linux distributions, google ‘rdc linux’ to install one.

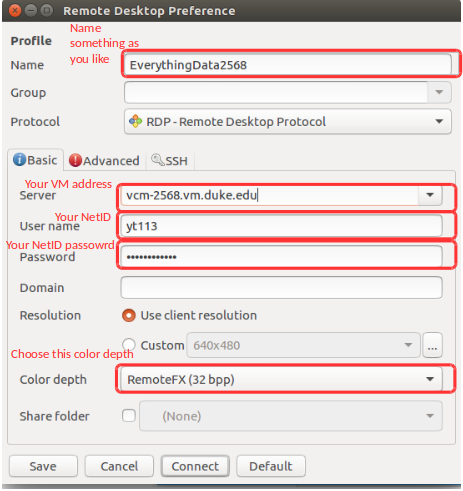
- Click on “New” icon to establish a new connection to the virtual machine you created.
- Finish the configuration
- You should a desktop now. If you cannot see the task bar at the bottom, try to click on this “fullscreen” icon.

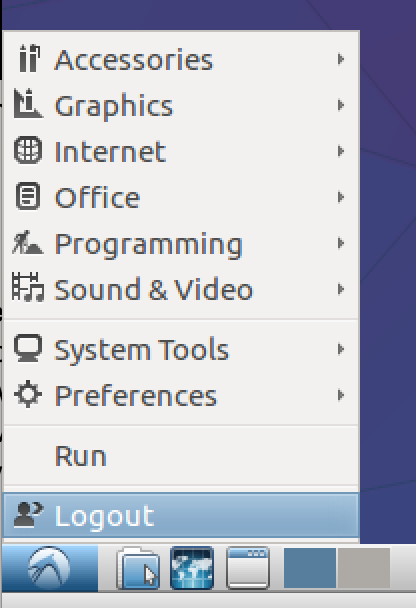
- Click on the menu icon to pop up the menu. Have fun!
4. When you’re done with the VM
When you finish using the VM for like one day’s work, you need to close your connection to the VM. To do this:
- If you are using command line ssh, just type “exit” in your VM terminal. Then the connection to the VM is closed.
- If you are using the VM with graphic interface, just close the window for the VM.
In both cases, after you close the connection to the VM, you can either go to https://vcm.duke.edu/ VM management page to power off your VM (which will help save some energy for OIT) or not. If you power off your VM, remember to power it on next time you use it!
IMPORTANT Note: The VMs will be automatically turned off every day at 06:00am to save power.
Please make sure to save your work accordingly. Remember to 'Power On' your VM whenever you want to use it!
5. Transferring files between your local machine and cloud vm bidirectionally
There are several ways to do the transferring:
Git
Make use of your gitlab repository. The git instructions here are not detailed, and you should familiarize yourself with git commands. For example, you modify some files in your gitlab homework folder in your own laptop and you’re done with the updates, then you should push (git add, git commit, git push) the changes to the git repository. Then in your virtual machine, you can pull (git pull) the updates from the cloud git repository into your local folder.
Command line scp
If you are comfortable with command line tools, you could use the command “scp” to perform secure copy of files. See the link for its syntax: https://en.wikipedia.org/wiki/Secure_copy. (I’m assuming that you already have enough background to understand and do this. If you don’t, just ignore this option.)
WinSCP
Another alternative way for windows users to use scp is to install an GUI software called WinSCP. You may download it from https://winscp.net/eng/download.php
File transferring software like FileZilla
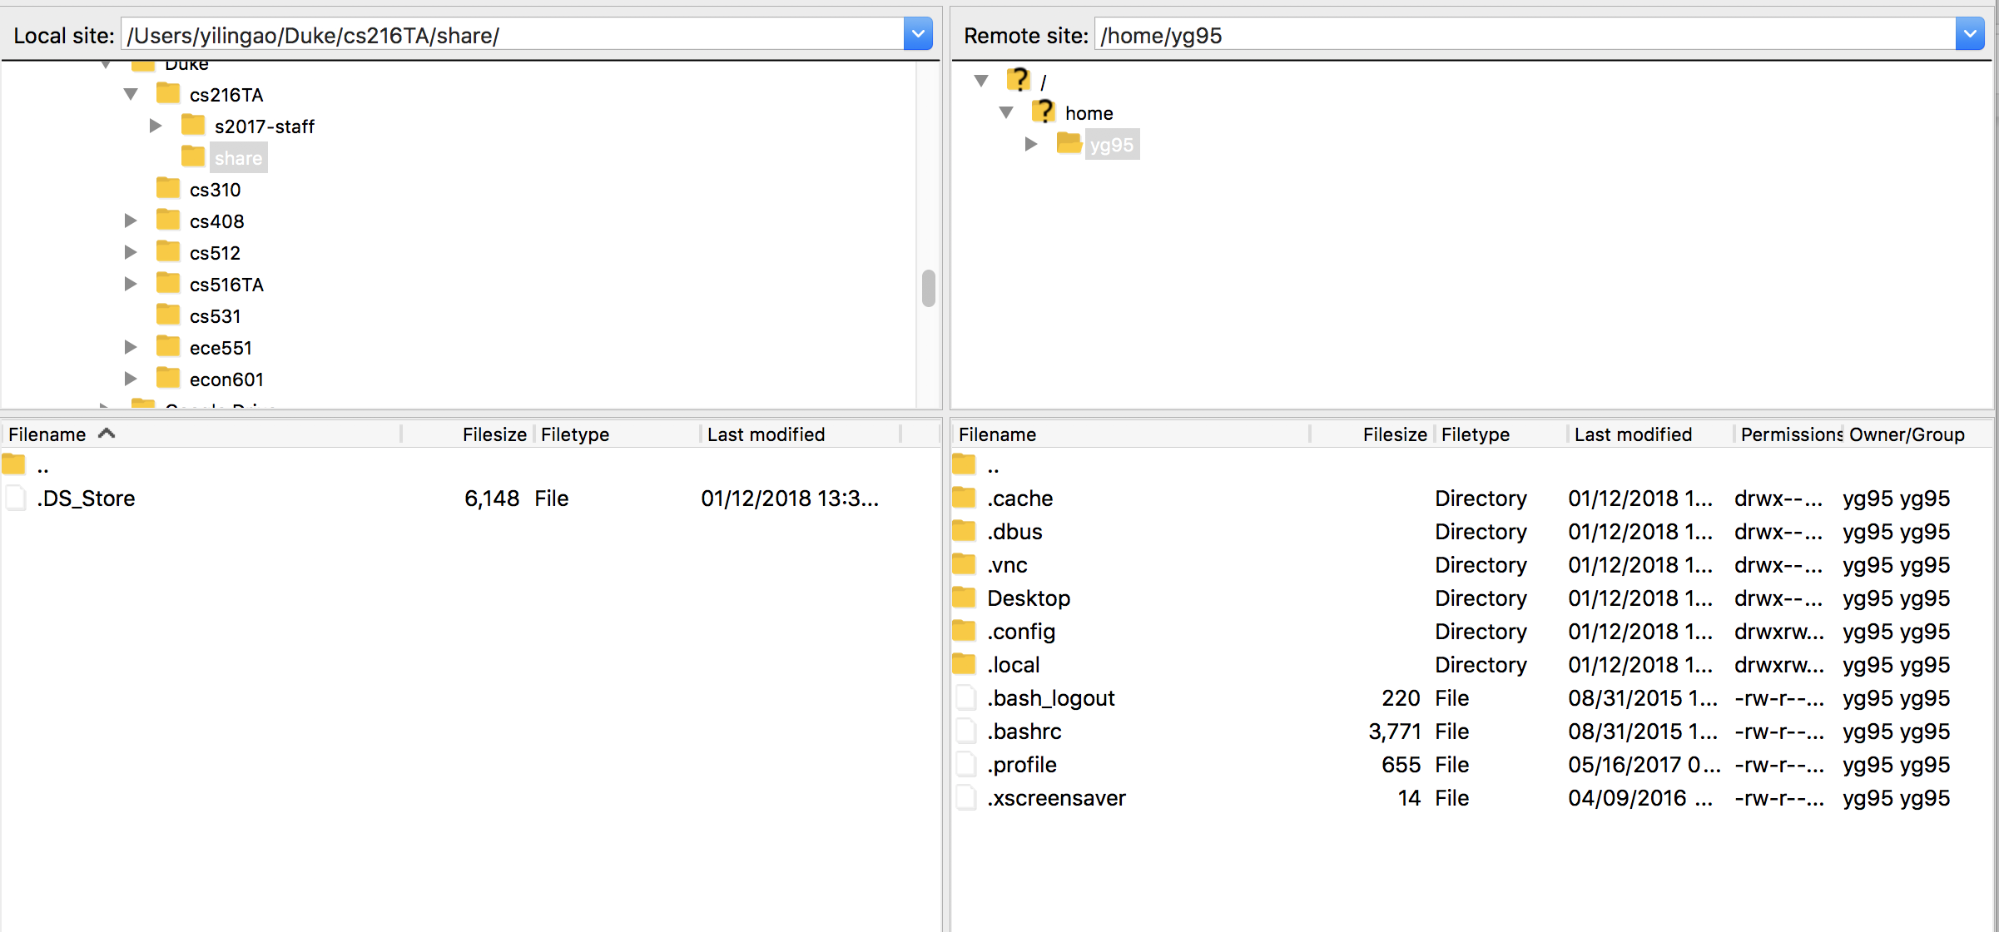
- Download and install a FileZilla client on your own laptop: https://filezilla-project.org/download.php?type=client.
- Establish the connection to the vm by filling in information correctly:

- After you establish the connection, you can see the folder structure of your laptop, and that of the vm. You can transfer files and folders bidirectionally by simply dragging them with your mouse:
Other Options
This webpage lists 16 softwares that can transfer files: https://winscp.en.softonic.com/mac/alternatives . If you don’t like the softwares mentioned above, try something here.