publishing a project
The PROF Plugin makes
publishing a project very
easy. If you want to
publish a project from
your Eclipse workspace,
PROF makes it easy:
- Set your Ambient
Preferences. Click
Window > Preferences >
Ambient > Checkout/Checkin
and type the CVS root
where your course
directory is located.
Enter your login name
and click OK.
- Click the Publish
Project icon
 from the toolbar or
select PROF > Publish
Project. If you have
not entered you password
this session of Eclipse
you will be prompted for
your NetID password.
After you enter your
password and click OK,
you should see the
following window (it
will show all the
projects you have in
your workspace):
from the toolbar or
select PROF > Publish
Project. If you have
not entered you password
this session of Eclipse
you will be prompted for
your NetID password.
After you enter your
password and click OK,
you should see the
following window (it
will show all the
projects you have in
your workspace):
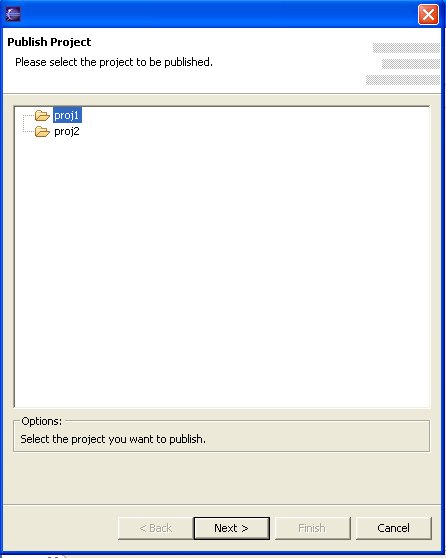
- Select the project
you would like to
publish and click
Next.
- A new
window should open that will prompt you for the publish location. The window
shows the directories in
the CVS Root. You have
the choice between
Publish Project and
Start New Project:
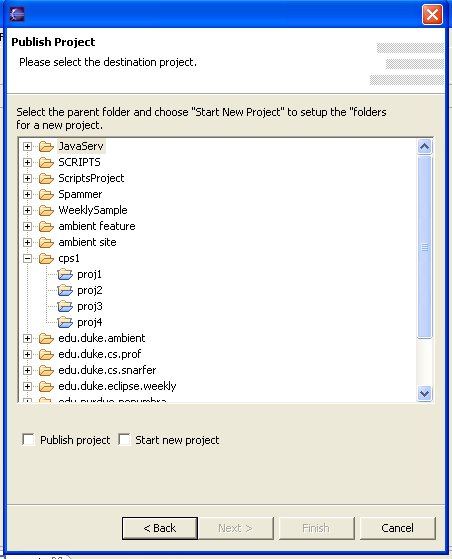
- If you want to start
a new project, select
your course directory
and check Start New
Project.
*WARNING*This is
for individual projects
ONLY. The wizard
will then create a
project directory for
your published project
and it will also create
all the student
directories for the
students listed in the "students.conf".
- If you want to
publish an existing
project, either group or
individual project,
select one of the
projects under your
course directory and
check Publish Project.
The wizard will publish
your project in the
project selected.
*WARNING* It will
not create the student
directories. It will
ONLY publish your
project. This means
that you can use the
scripts to create a
group project and create
the student directories
and then publish the
project using these
instructions.
- *IMPORTANT*
For information on the
scripts you need to run
to set up your course
directory, student file,
and projects, visit the
info
section of this site.
You can download the
scripts information, and
also obtain the scripts.
- Click Next
and the wizard will then
publish your project
under your course
directory.
-
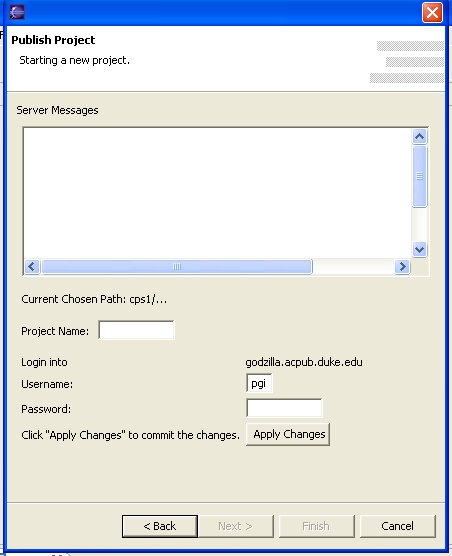
- If you checked
Start New Project,
then you need to type
the Project Name in the
textbox provided. You
also need to type your
password and click
Apply Changes. The
scrollable part of the
window will show the
result of the actions,
and you should get an OK
message at the bottom.
You can click Finish.
The project is now
published.
a word of caution
- The PROF publisher
will NOT include any dot
files in the published
project (except .classpath
and .project) so DO NOT
create any dot files in
the project you wish to
publish. Choose a
different naming
convention if possible.
|