One of the key aspects about the web is that we aren't just making isolated documents. We can link to any document to any other kind of file (pictures, movies, text documents, other web pages...) all using the anchor tag: <a>.
The anchor tag is our first chance to see tag attributes. In some cases we want to provide an HTML element with information that isn't directly displayed in the webpage. In this case with the anchor tag, the information we want to provide is where our file is that we want the anchor tag to link to. This information is provided using the href attribute to reference the location of the file being linked to. Here's an example of the tag in action.
<html>
   <body>
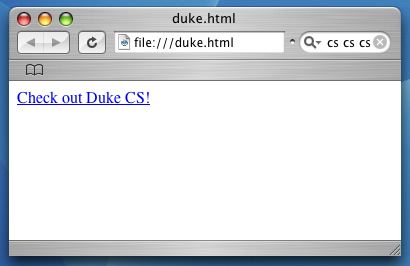
      <a href="http://www.cs.duke.edu/">Check out Duke CS!</a>
   </body>
</html>

The text in the area between the opening tag <a> and the closing tag </a> was displayed in the webpage as we would normally expect. By default, browsers tend to underline links but we'll later see how to make any style changes we want in the CSS tutorial. For the tag attribute, we simply give the attribute name, an equals sign, and then the value - surrounded by double quotes - being given to that attribute. In this case we're giving the url or Uniform Resource Locator of a particular website.
There are a couple of other attributes to note for the anchor tag. The target attribute allows us to specify where the linked file will be opened when the link is clicked. For example, choosing a value of "blank" would cause the link to open up in a new browser window instead of replacing the current webpage in the current window. The id attribute allows us to give an extra identification to any tag. The use of doing this is that we can then link to a specific part within a webpage. This essentially sets the scrollbar for the user so that they immediately look at the right location on the page instead of having to scroll there themselves.