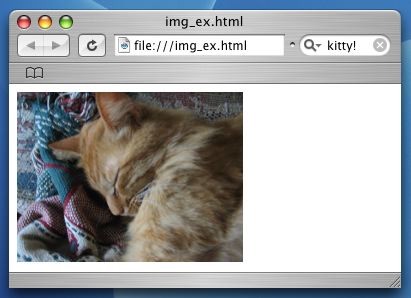
Now for images. A plain text webpage can be pretty boring, so using the img element can spice things up. Here's a quick example.
<html>
   <body>
      <img src="./graphics/cat.jpg" height="170"/>
   </body>
</html>

The <img> element is another one of the few that can operate with a single tag that closes itself. This tag must use the src attribute to state where my image file is located. Of course, using this attribute with the <img> tag displays the image inside the webpage instead of linking to it separately like the <a> tag does.
A key thing to note is that the url address looks quite different from the previous link example. Previously I used a global address that uniquely identified some file on the web. Now I'm using a local address that only makes sense relative to where my webpage file itself is stored. The backslash marks here (or in most any webpage url) denote folders just like you have used on any computer.
In the example address above, the single "." indicates that we begin in the same folder where the webpage's HTML file is stored. From there we go into the graphics folder, then inside the graphics folder we find the file cat.jpg. It's this file that we're requesting be displayed inside our webpage.
Last thing: What do you do if your image isn't quite the right size? Using the height attribute this example sets the images height to be 170 pixels high and lets the width adjust proportionally from the original image size. You can use the width attribute in a similar manner. (Pixels, by the way, are the tiny little squares on your computer screen that produce light to create everything you see on the screen.)